A Basic Survival Guide to Helldivers 2
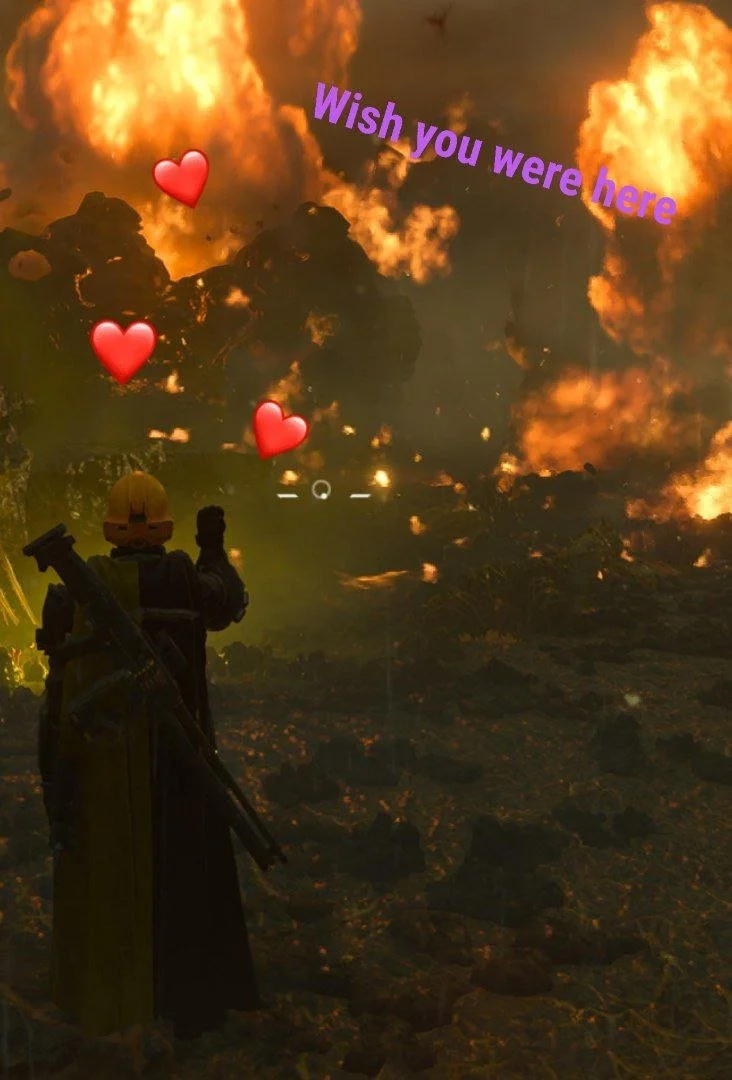
A Helldiver watches an orbital napalm strike and misses their friends.
This is for all of you new people out there who have kids, jobs, and lives outside of video games that prevent you from being the absolute best. I fall into that camp, and that means my reactions and skill will never reach the level of a twitchy unemployed teen. At best, I can play one mission a day, and that is while I am on my exercise bike. I will always be mid-tier.
However, knowledge of the game can give you an edge, even as an average player. Here are 10 tips for all you soon to be newbies out there.
First off, the game doesn’t expect you to eventually play on the hardest difficulty. You can platinum the game and complete all upgrades and never play anything higher than a level 6 extreme mission. I can generally complete those missions solo and on an exercise bike. No shame in taking an occasional easier mission, you are here to have fun. Never forget that.
Second, be open to changing loadouts and fighting on different fronts. You may find a sweet spot in terms of weapons and stratagems for the bots, but that won’t necessarily work against a different enemy, difficulty, or objective. Some of the most fun in the game is figuring out different ways to solve problems. If you feel in a rut, switch it up. Also don’t forget to hold the reload button to check all the settings on your weapon, including fire rate. The M-105 Stalwart (the light machinegun you unlock at level 5) is a different beast when firing at 1150RPM than the standard 850RPM.
Third, understand and avoid patrols. Fighting enemy patrols and units doesn’t earn resources or advance the mission, and it's a great way to get killed. You are here, on a timer, to complete objectives, not kill enemy units. Many problems can be solved without getting into a firefight: a single rocket, grenade, or airstrike can often take out an objective so you can just jog away—saving time and lives. Also, static enemies (those placed around objectives that are hanging out) have different behavior than a patrol. You can pop a static enemy, and if the rest of their friends are far enough away, they won’t react. If you shoot a member of a patrol, the entire patrol will know exactly where you are at that instant. An extensive, overly complicated primer on patrols is located here.
Fourth, stealth works. Even if you are a “use heavy explosives and let democracy sort ‘em out” kinda helldiver, knowing stealth mechanics can save you some pain. Here are the basics: There are two ways to be found: Sound and vision. Here are the ranges:
Sound - Eagle and orbital strikes - 70 meters
Sound - Support Weapons - 65 meters
Sound - Primary weapons, and rocket and grenade explosions - 60 meters
Vision - Standing (running, etc.) - 45 meters
Sound - Side arms - 35 meters
Sound - Sprinting 30 meters
Vision - Crouching - 25 meters
Sound - Walking - 20 meters
Vision - Prone - 15 meters
Sound - Crouching, Prone, and Melee attacks are completely silent
Marking patrols lets you know the approximate distance so you know exactly what you can get away with. In general, if you aren’t firing your large weapons, stay at least 45 meters away from a patrol or crouch down.
Fifth, a shared sample is a democratic sample. All rewards, whether they are Super Credits, Samples, Requisition, or Medals are shared. It doesn’t matter who picks them up or extracts with them, everyone gets a copy. Yes, the internet rando that just looted the sample container off your body is doing you a favor. During launch, confusion regarding this led to unnecessary summary executions. Also, if you have time, swing by minor places of interest. They are full of goodies. You can blow open the blue, orange, and red cargo doors with a grenade. The concrete bunkers with two glowing switches on the outside, however, require two helldivers to operate.
Sixth, you can play and dominate the game with the initial Helldivers Mobilize Warbond. However, if you are sitting on a fat stack of Super Credits, I highly recommend snapping up the Democratic Detonation Warbond. The Exploding Crossbow, Grenade Pistol, Eruptor, and Thermite are all incredibly useful weapons that complete any loadout. It is the most (ahem) bang for your buck. You should also consider purchasing the B-08 Light Gunner armor from the shop. It gives you the fastest possible speed and stamina regeneration, with some relatively decent armor. It is the only light armor with the Extra Padding perk.
Seventh, “more expensive” or “higher level” doesn’t always mean “better”. The Eagle Strafing Run and Orbital Gatling Barrage are available at level 1, for 1,500 requisition each, and I use them on almost every non-defense mission. Veteran helldivers still use the MG-43 Medium Machinegun (your starting support stratagem) on Helldive difficulty. A big part of Helldivers is finding what works for you.
Eighth, follow Super Earth Command. You have large latitude to decide where you go, but following the current campaign will force you to go onto different planets, fight different enemies, and complete different objectives. In other words, it will make the game more interesting while you are playing it. That being said, if you are jonesing for a particular type of fight, feel free to go where you want.
Ninth, count the circles on the map. When you are prepping for a dive, you will get a holographic map of the mission area (this is where you will hear “what about here” 8 billion times from your hilarious friends). Red pulsing circles indicate enemy activity. Count them and find a way to quickly memorize where they are before you jump. Once you land, you’ll notice that there will be fewer red dots on your in-mission mini map. The dots that were on the holographic map, but not on the in mission mini map indicate secondary objectives without a bug hole or fabricator (think: LIDAR station, SEAF Artillery, etc.). The areas that are on the holographic map and are on the in game mini map are locations that contain a bug hole or fabricator—outposts or an objective like a detector tower.
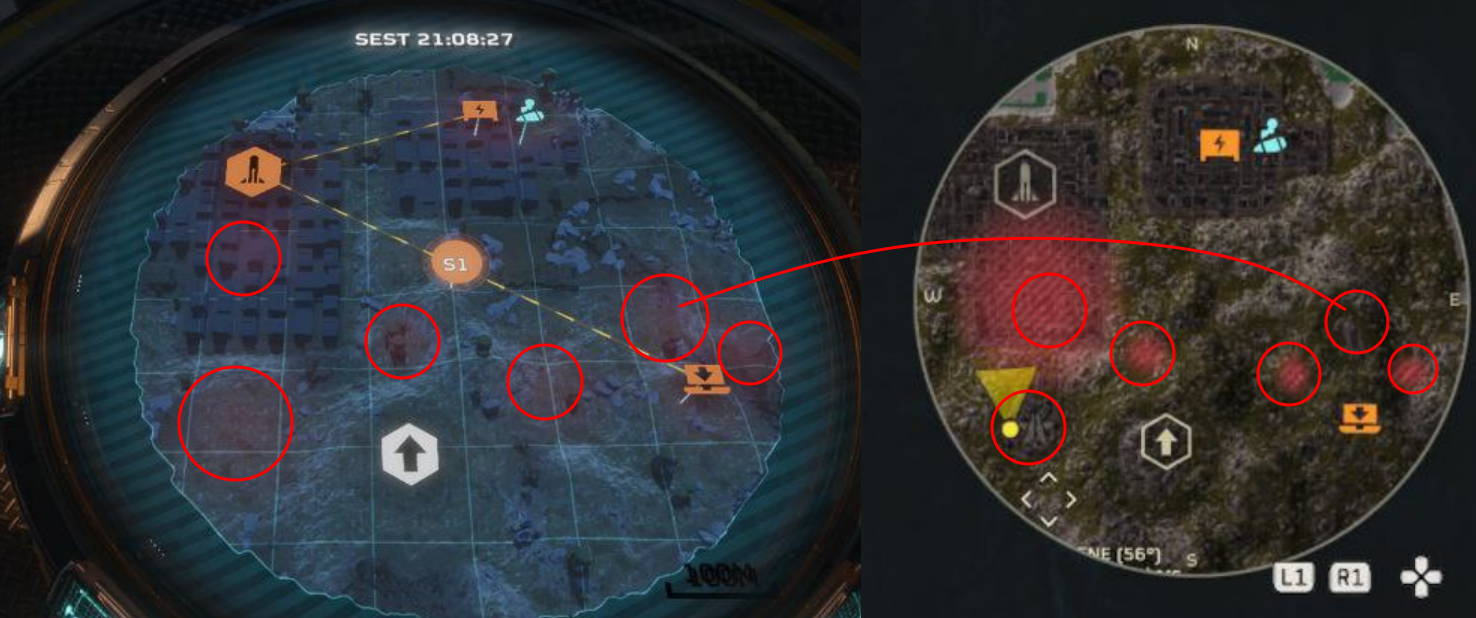
The mission intel on the left shows one additional glowing red spot than the in-mission radar on the right. This is a location of an additional objective without a fabricator. It turned out to be a LIDAR station.
Tenth, maximize your impact on the war effort. The screen that comes up after you complete a mission is a representation of your impact. The actual impact is a series of unknown and byzantine calculations. Here is what maximizes your impact:
Mission Difficulty. Harder missions and campaigns have bigger impacts.
Completing a campaign. While individual missions help, completing an entire campaign (series of missions) is worth far more. I think.
All objectives. Completing all primary and secondary objectives in a mission is worth more than just completing the primary objective and extracting.
Deaths. If there are over 10 deaths the mission impact is penalized by 20%
Extraction. Failing to extract all helldivers penalizes your mission impact by 30%
Good luck out there cadets. With any luck, you’ll ranked higher than me in a couple of months.